
Here’s something we’ve learned from trying every look from clean skin to full glam: Your makeup order matters. You can use the highest quality, longest-lasting products, but if you don’t do your makeup steps in the right order, they’ll fade. Whether you’re working with blush and highlighter or doing a smoky eye, the order in which you apply your makeup is the most important part of creating a look that stays fresh from AM to PM. So what exactly are the steps? We asked our Director of Artistry Sara Wren to break it down, step by step.
1. Start with skincare.“Skin prep is the most important step to ensuring that your makeup looks good and stays in place,” says Sara. The specific skincare products are up to you and depend on your skin type. If you have dry skin, opt for creams like our Vegan Milk Moisturizer to help your skin stay hydrated and plump. If you have oily skin, go with a light gel moisturizer that won’t make you look greasy.
|
 |
2. Prep with primer.Just like you prime a canvas before painting it, using a makeup primer before applying the rest of your products helps them last longer and look more vibrant. If you like a matte finish, try our Milk Makeup Pore Eclipse Mattifying Primer. For a lit-from-within effect, Sara suggests using our Hydro Grip Primer. Don’t forget to prime your eyes, too. Sara likes applying our Hydro Grip Eye Primer to lids and under eyes to lock in liner and keep concealer from creasing. You can even apply a thin coat to your lips to create a smooth base for lipstick.
|
 |
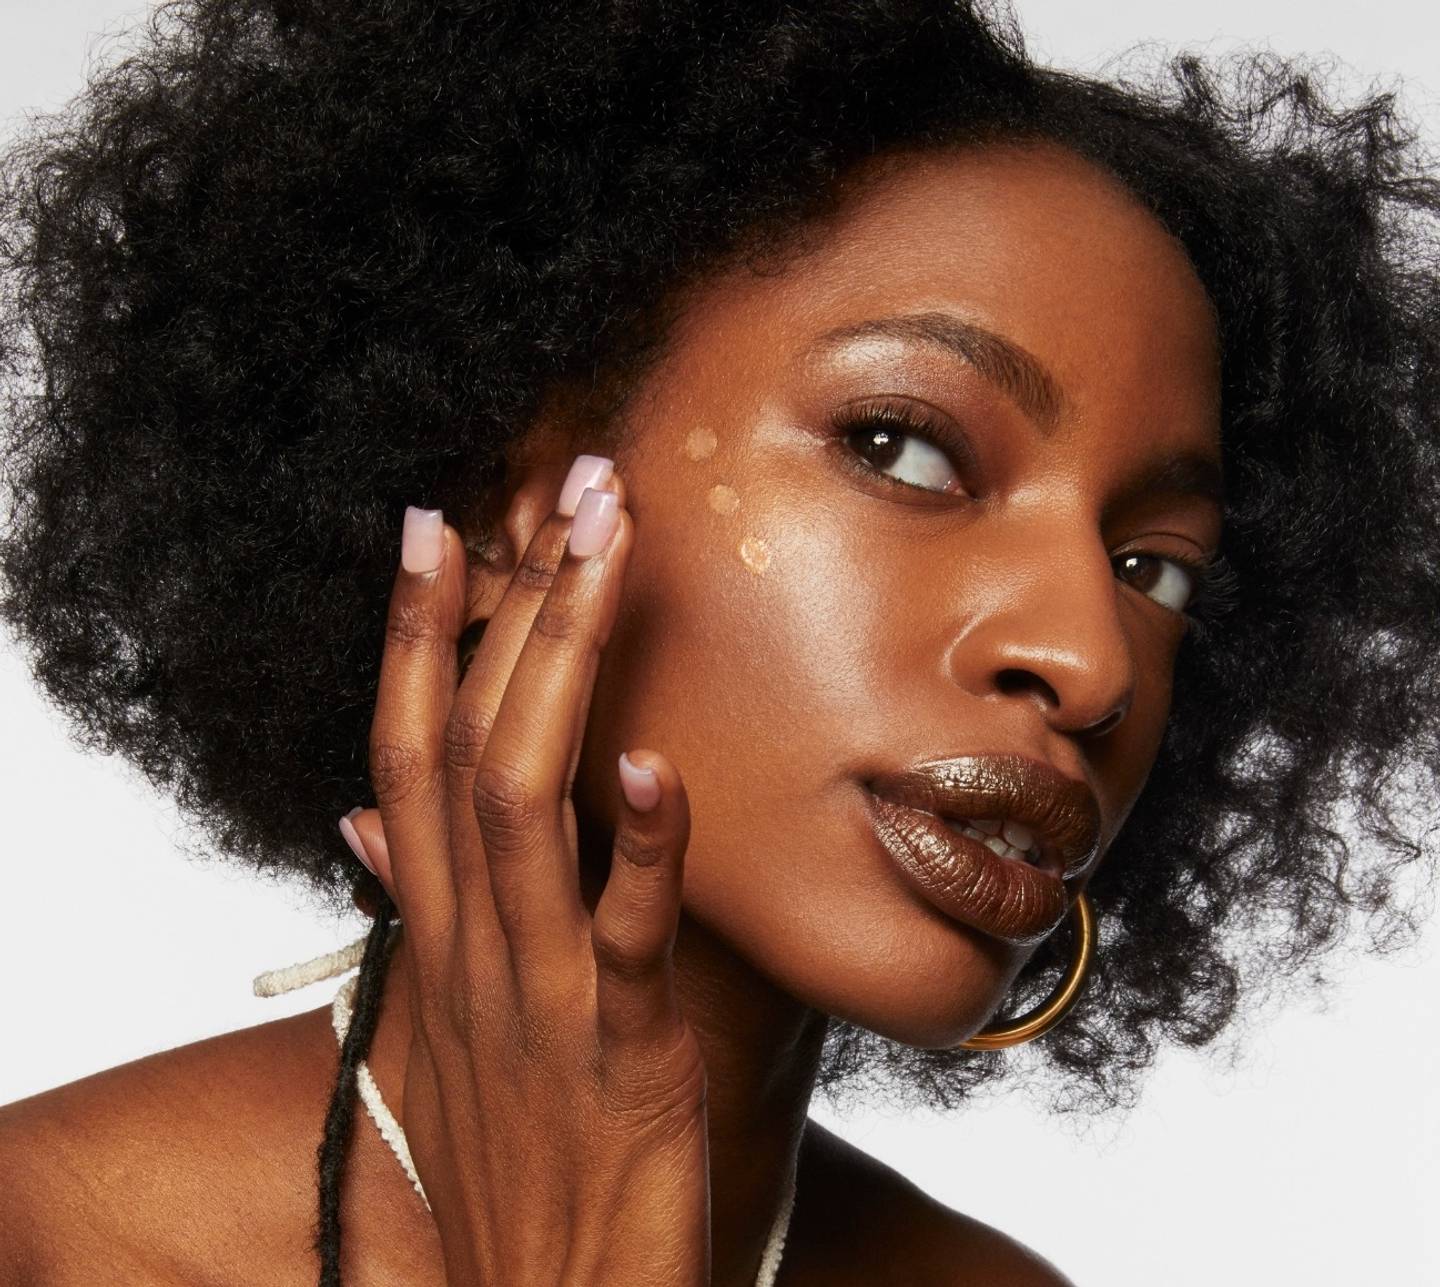
3. Build up your foundation.Once your skin is ready to go, you can move on to makeup, starting with foundation. The level of coverage you’re looking for will dictate what kind of base you want to use. Creamy, buildable textures like our Flex Foundation Stick can give your skin a more airbrushed appearance. It can also be used as a spot concealer. You've got more options: Use our Future Fluid All Over Cream Concealer in place of a traditional foundation for a base that has a natural, skin-like finish. The formula is made to do it all.
|
 |
4. Conceal and brighten.“For extra brightening and light coverage around my eye area, I use our Sunshine Under Eye Tint + Brighten,” says Sara. “It’s super hydrating and lightweight on the delicate, sometimes dry eye area.” She blends out the illuminating formula with a fluffy eyeshadow brush for the most natural look. Want a little more coverage? Reach for Future Fluid, with its creamy texture and buildable formula.
|
 |
5. Sculpt and add warmth.Once you’re happy with your base, it’s time to move on to the more colorful products in your lineup. Sara starts with bronzer before blush or highlighter and recommends mixing two formulas to add a natural-looking warmth to your face. Apply bronzer to the points of your face that the sun typically hits: cheekbones, forehead, and across your nose. Start with Matte Bronzer, buffing out the creamy formula with a fluffy brush. Then, Sara likes to boost it with our hydrating Bionic Bronzer, which has a radiant finish. Shake it up before squeezing it out onto your finger. Then tap it onto the tops of your cheeks, across your nose, and around your temples for a sunkissed glow. Now, you're ready to add depth and dimension to your look. “I start with creating a ‘baby contour’ to softly sculpt my face, applying Sculpt Stick to my temples, hollows of my cheeks, under my lower lip line, and on the creases of the eyes,” Sara says.
|
 |
6. Add a healthy flush with blush.Like bronzer, blush is all about choosing the right texture and placement. If you like a juicy, vibrant flush, dot a liquid blush like Bionic Blush on your cheeks and blend it out. For a subtler creamy effect, try our bestselling Lip + Cheek, which works as both a blush and lip tint. Higher placement on your cheeks will give your face a more angular shape, while blush that’s concentrated on the apples of your cheeks will impart a healthy glow.
|
 |
7. Glow up with highlighter.There are so many gorgeous effects you can get from highlighter, from super shimmery to naturally radiant. Try applying highlighter to the areas you want to emphasize, like your cheekbones, brow bones, and cupid's bow. Sara loves our Bionic Glow and Highlighter in Lit for added radiance that looks especially dewy.
|
 |
8. Emphasize your eyebrows.Now that most of your face is looking fresh, focus on your eyes. Whether you want to go low-key or mega dramatic, Sara suggests never skipping your lash and brow serum. “KUSH Lash + Brow Serum is like a daily vitamin for my lashes and brows,” she says. It helps nourish your brow hairs and eyelashes so they look as healthy as possible. For a clean look, sweep KUSH Clear Brow Gel through your eyebrows to set them in place. The clear formula adds structure, while a tinted version like our KUSH Fiber Brow Gel brings a little added color and fullness.
|
 |
9. Set your vibe with shadow and liner.There are so many ways to play with eyeshadow and liner, and we suggest choosing your look of the day after you’ve finished your base and brows. Add a wash of shimmer with our Color Chalks, do a cat eye with Infinity Long Wear Eyeliner, or play around with both for looks from colorful inner corner liner to smoky eyes.
|
 |
10. Pump up your lashes.Mascara is the perfect finishing touch for any eye look. Apply a couple coats for length, definition, and eye-opening volume. “I like to use Milk’s RISE Mascara if I’m feeling more natural and KUSH Mascara if I want to bring the drama,” says Sara.
|
 |
11. Layer on your lip color.Before you put any color on your lips, be sure you're moisturizing with a balm first. Once that's done, you can decide on your ideal texture. You can go for a matte lipstick, which Sara recommends blotting with a tissue between coats for stay-all-day vibrancy. Or, go for creamy color like our Lip + Cheek. For a shiny, glossed finish, reach for Odyssey Lip Oil Gloss or Electric Glossy Lip Plumper.
|
 |
12. Add setting powder.Setting powder is one of the easiest ways to make sure your makeup lasts all day long. It helps set concealer and foundation in places where they tend to crease (like your T-zone or undereyes), and it can help control any excess shine on your skin. Our setting powder, Pore Eclipse Matte Translucent Setting Powder, does all this with the power of oil-absorbing lentil extract, plus it helps to give your skin a smoother, soft-focus look with the help of its pore-blurring microspheres. It's also got a bit of a translucent tint that works across a number of skin tones within its respective shade family. Use a fluffy powder brush to set all over your face. Ari Adams, Global Education and Events Manager for Milk Makeup, recommends using setting powder on your T-zone and, if you're looking to add some contrast to your face, in “a lighter shade to get a brightening effect." To set your under-eye concealer, use a powder puff in the area to make sure that concealer stays put.
|
 |
13. Lock it in with setting spray.The last step is the most important: locking everything in with setting spray so it stays fresh and crease-free. Sara swears by our Hydro Grip Set + Refresh Spray to lock in her makeup while giving her base a boost of dewy moisture. “This is my desert island makeup product,” she says. Shake it up and mist it all over your face after you’re done with your makeup. If you’re wearing a full face of glam, you can even mist a light layer of Hydro Grip between each layer of makeup. “This will give your makeup some extra insurance and glow,” she says. “But one spray in between layers is all you need.” Want a matte finish? Pore Eclipse Matte Setting Spray will give you that soft-focus effect and keep your makeup locked up to 16 hours.
|
 |
Meet the Expert
Sara Wren (she/her) is the Director of Artistry at Milk Makeup. In her role, she does all the makeup artistry and direction for our Milk Makeup global campaigns, educates the staff and field team on application methods, stars in the brand’s social media videos, and travels to different markets spreading Milk Makeup’s good vibes. When she’s not on set, Sara loves experimenting with DIY hair colors, eating tacos, watching basketball, and scouring for vintage cosmetics to add to her impressive collection.